This guide provides everything you need to get started, from a comprehensive materials list to a clear step-by-step process. You’ll also learn tips for adding fragrance and color, making your creations even more special. By the end of this tutorial, you’ll be ready to craft candles that illuminate your space and creativity.
Materials Needed
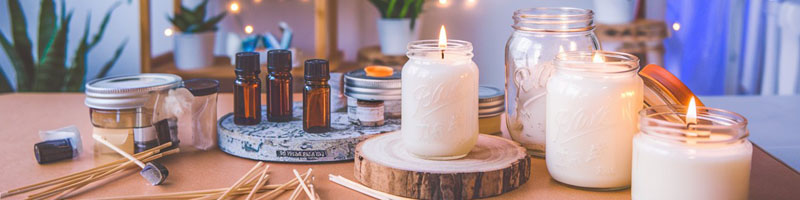
- Wax: Soy wax, paraffin wax, or beeswax
- Wicks: Cotton or pre-waxed wicks
- Containers: Mason jars, tins, or glass containers
- Double Boiler: Or a heatproof bowl over a saucepan
- Fragrance Oils: Optional for scented candles
- Color Dyes: Optional for colored candles
- Wooden Sticks: For stirring
- Glue Dots or Wick Stickers: To secure the wick
- Thermometer: For monitoring wax temperature
Step-by-Step Instructions
- Prepare Your Workspace: Cover your work area with newspaper or a protective sheet to prevent messes.
- Secure the Wick: Attach the wick to the bottom of your container using glue dots or wick stickers. Center it using a wick holder or chopsticks.
- Melt the Wax: Place the wax in a double boiler and heat gently. Stir occasionally to ensure even melting. Use a thermometer to monitor the temperature.
- Add Fragrance and Color (Optional): Remove the melted wax from heat and let it cool slightly. Add fragrance oils and color dyes, stirring well.
- Pour the Wax: Carefully pour the melted wax into your prepared containers. Leave a small gap at the top.
- Set the Candle: Allow the wax to cool and harden for several hours or overnight. Trim the wick to 1/4 inch before lighting.
Timeline
- Preparation: 10-15 minutes
- Melting Wax: 15-20 minutes
- Cooling and Setting: 4-6 hours